Categories & modifiers setup (beginner)
Steps
-
Step 1 (F01): Confirm you are at the empty menu entry
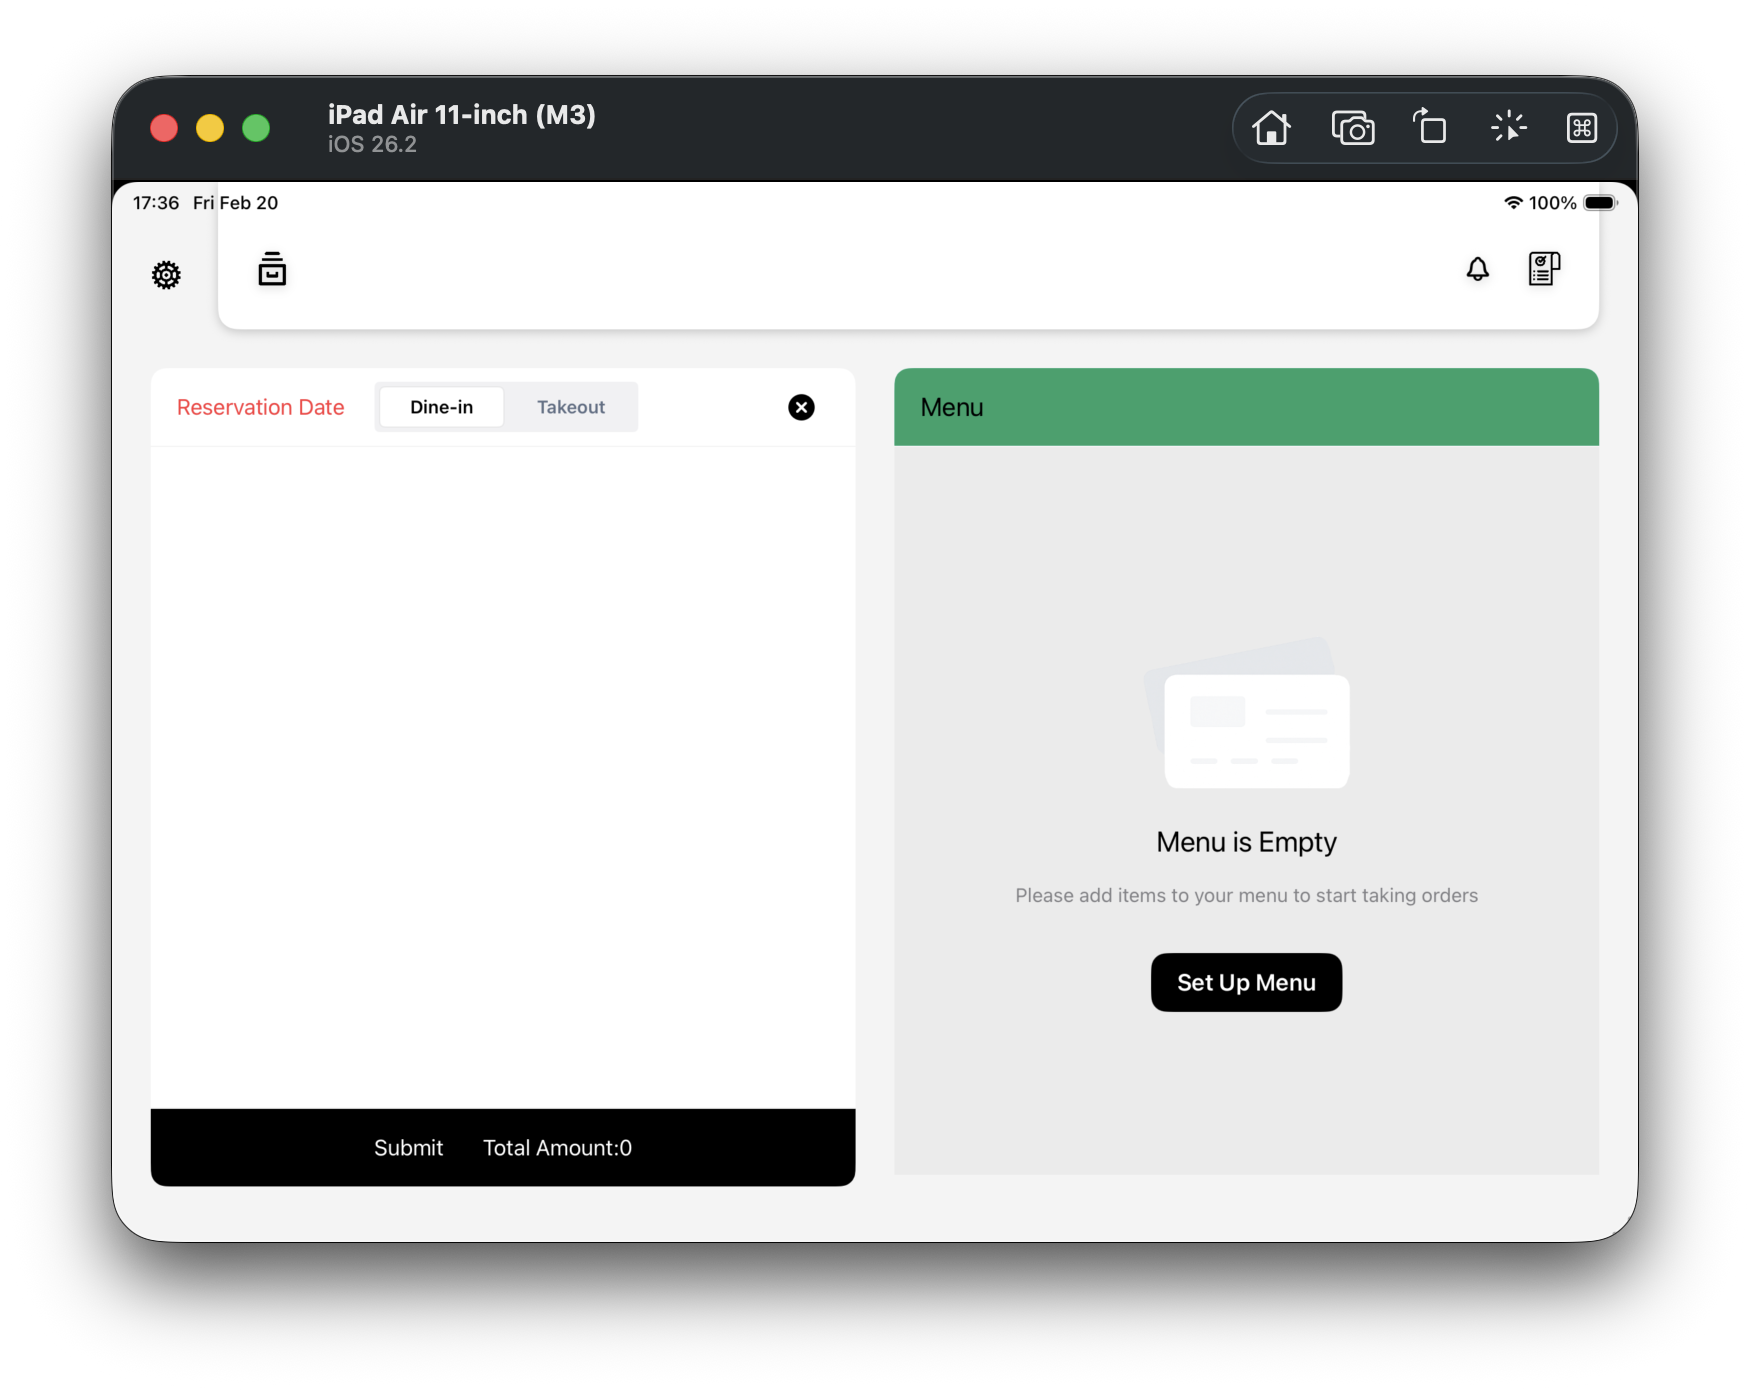
You should see an empty state on the right with a Set Up Menu button below.
-
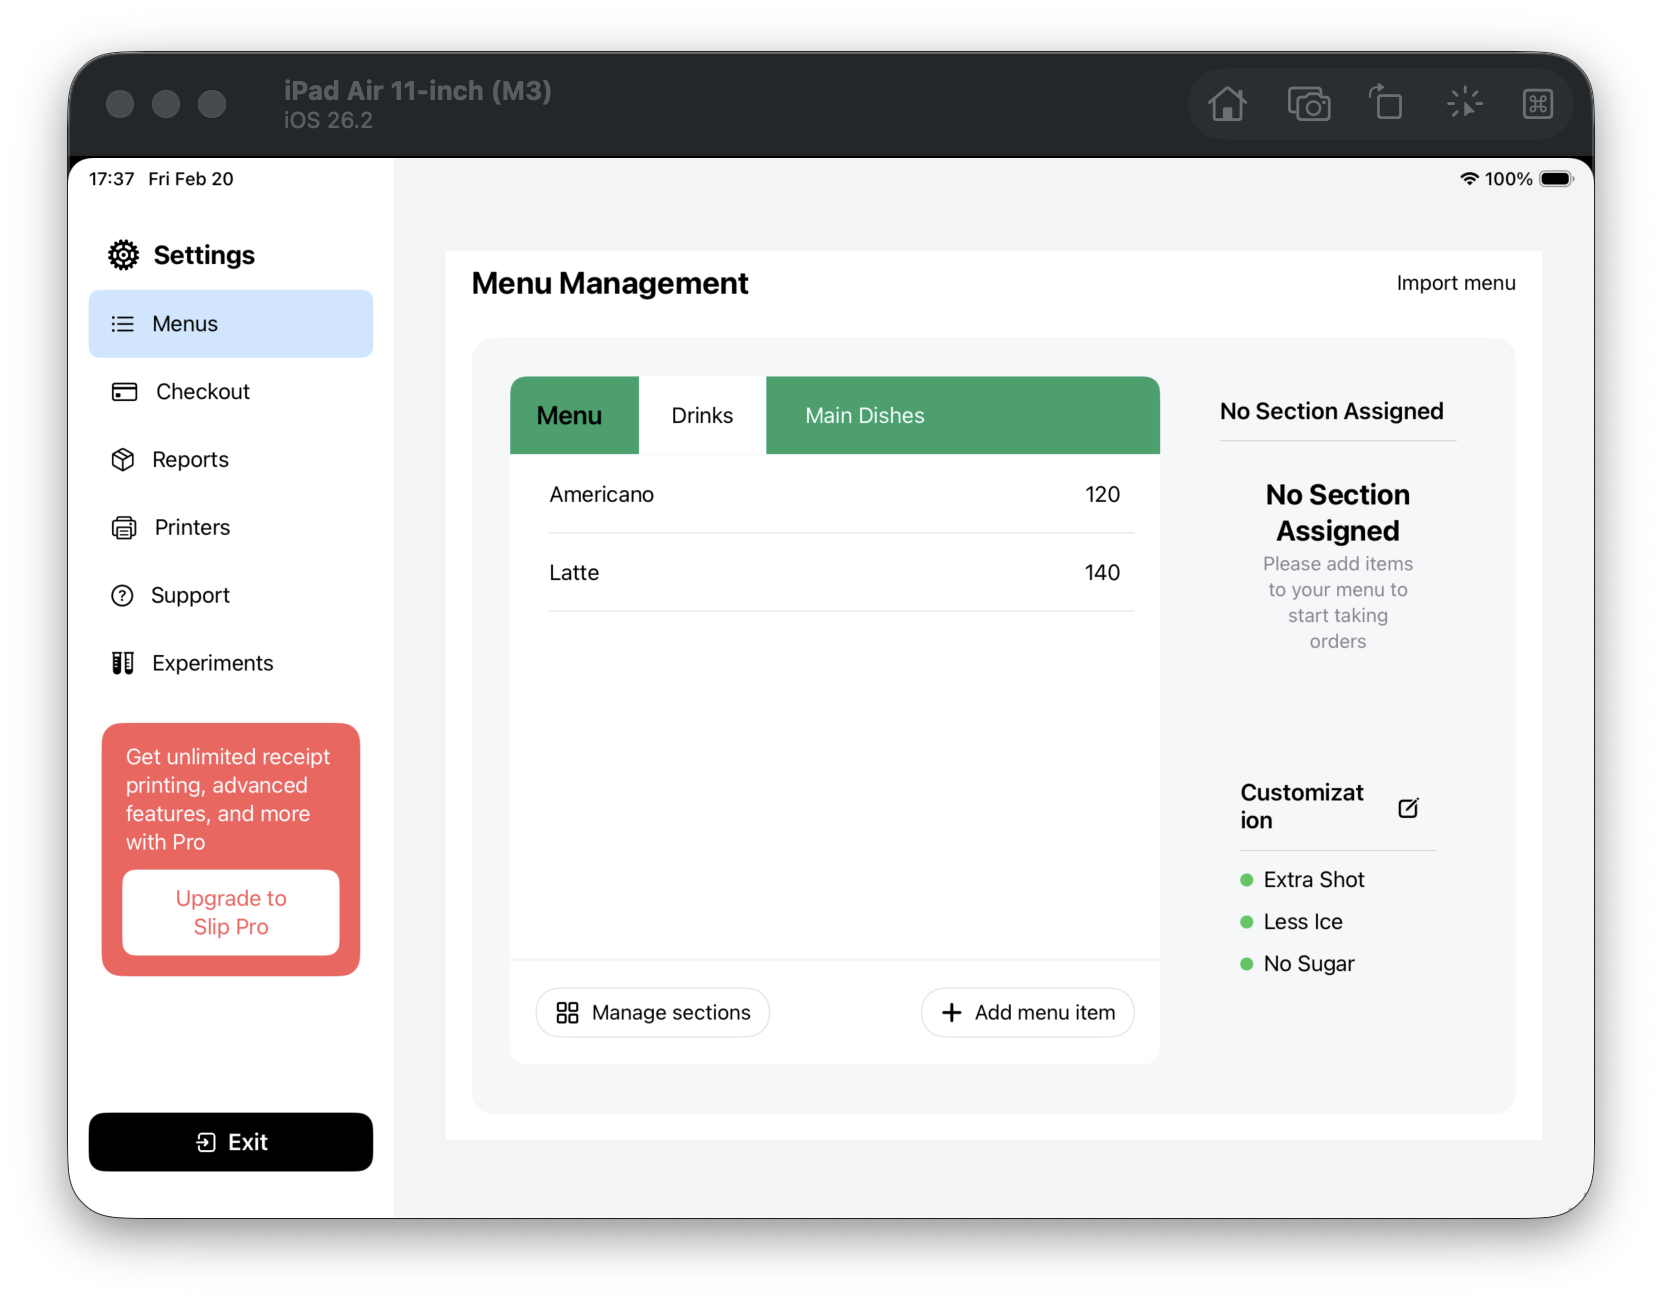
Step 2 (F02): Open menu management main screen
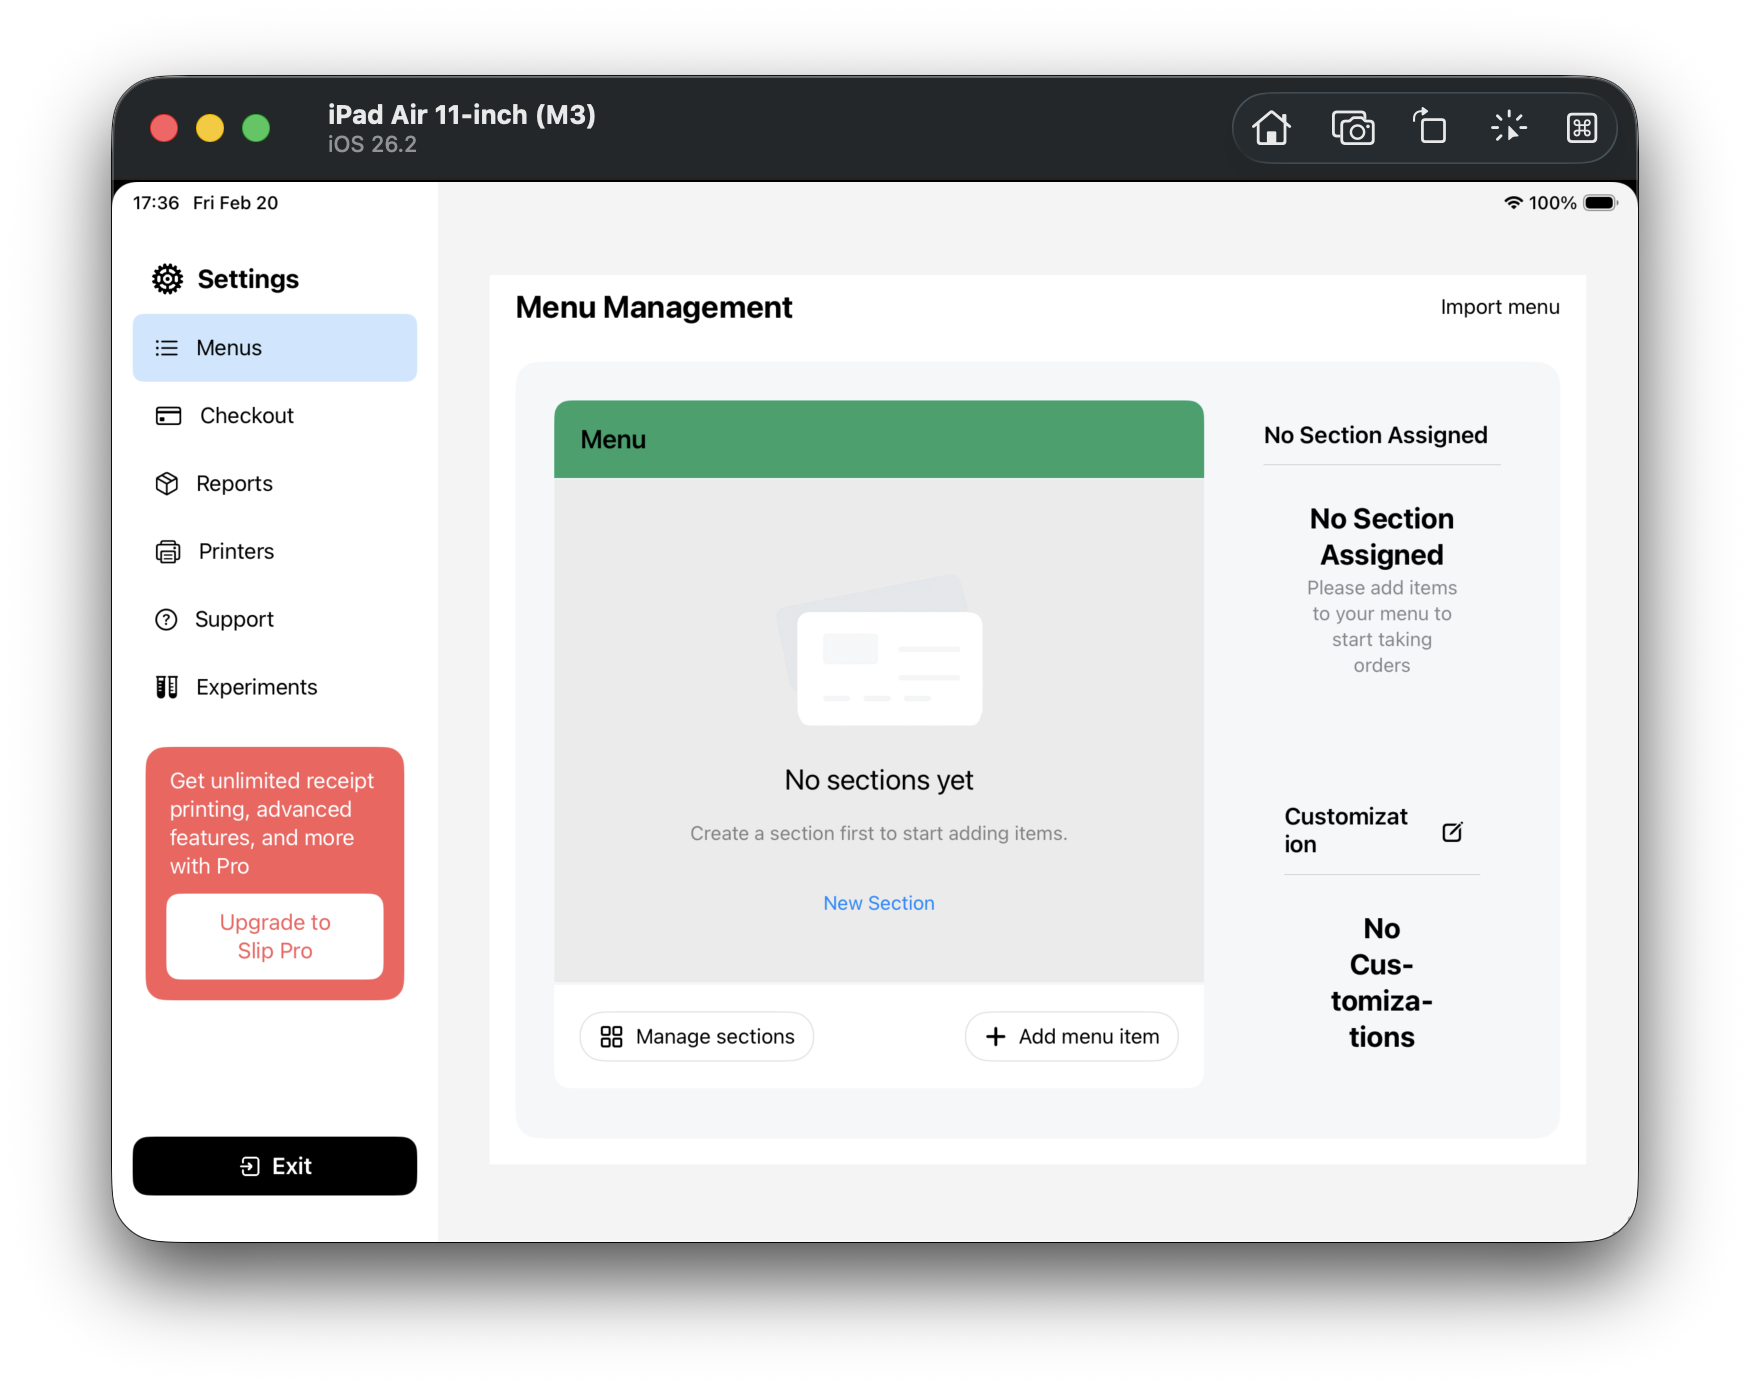
After tapping Set Up Menu, you enter Menu Management in settings.
-
Step 3 (F03): Open section management
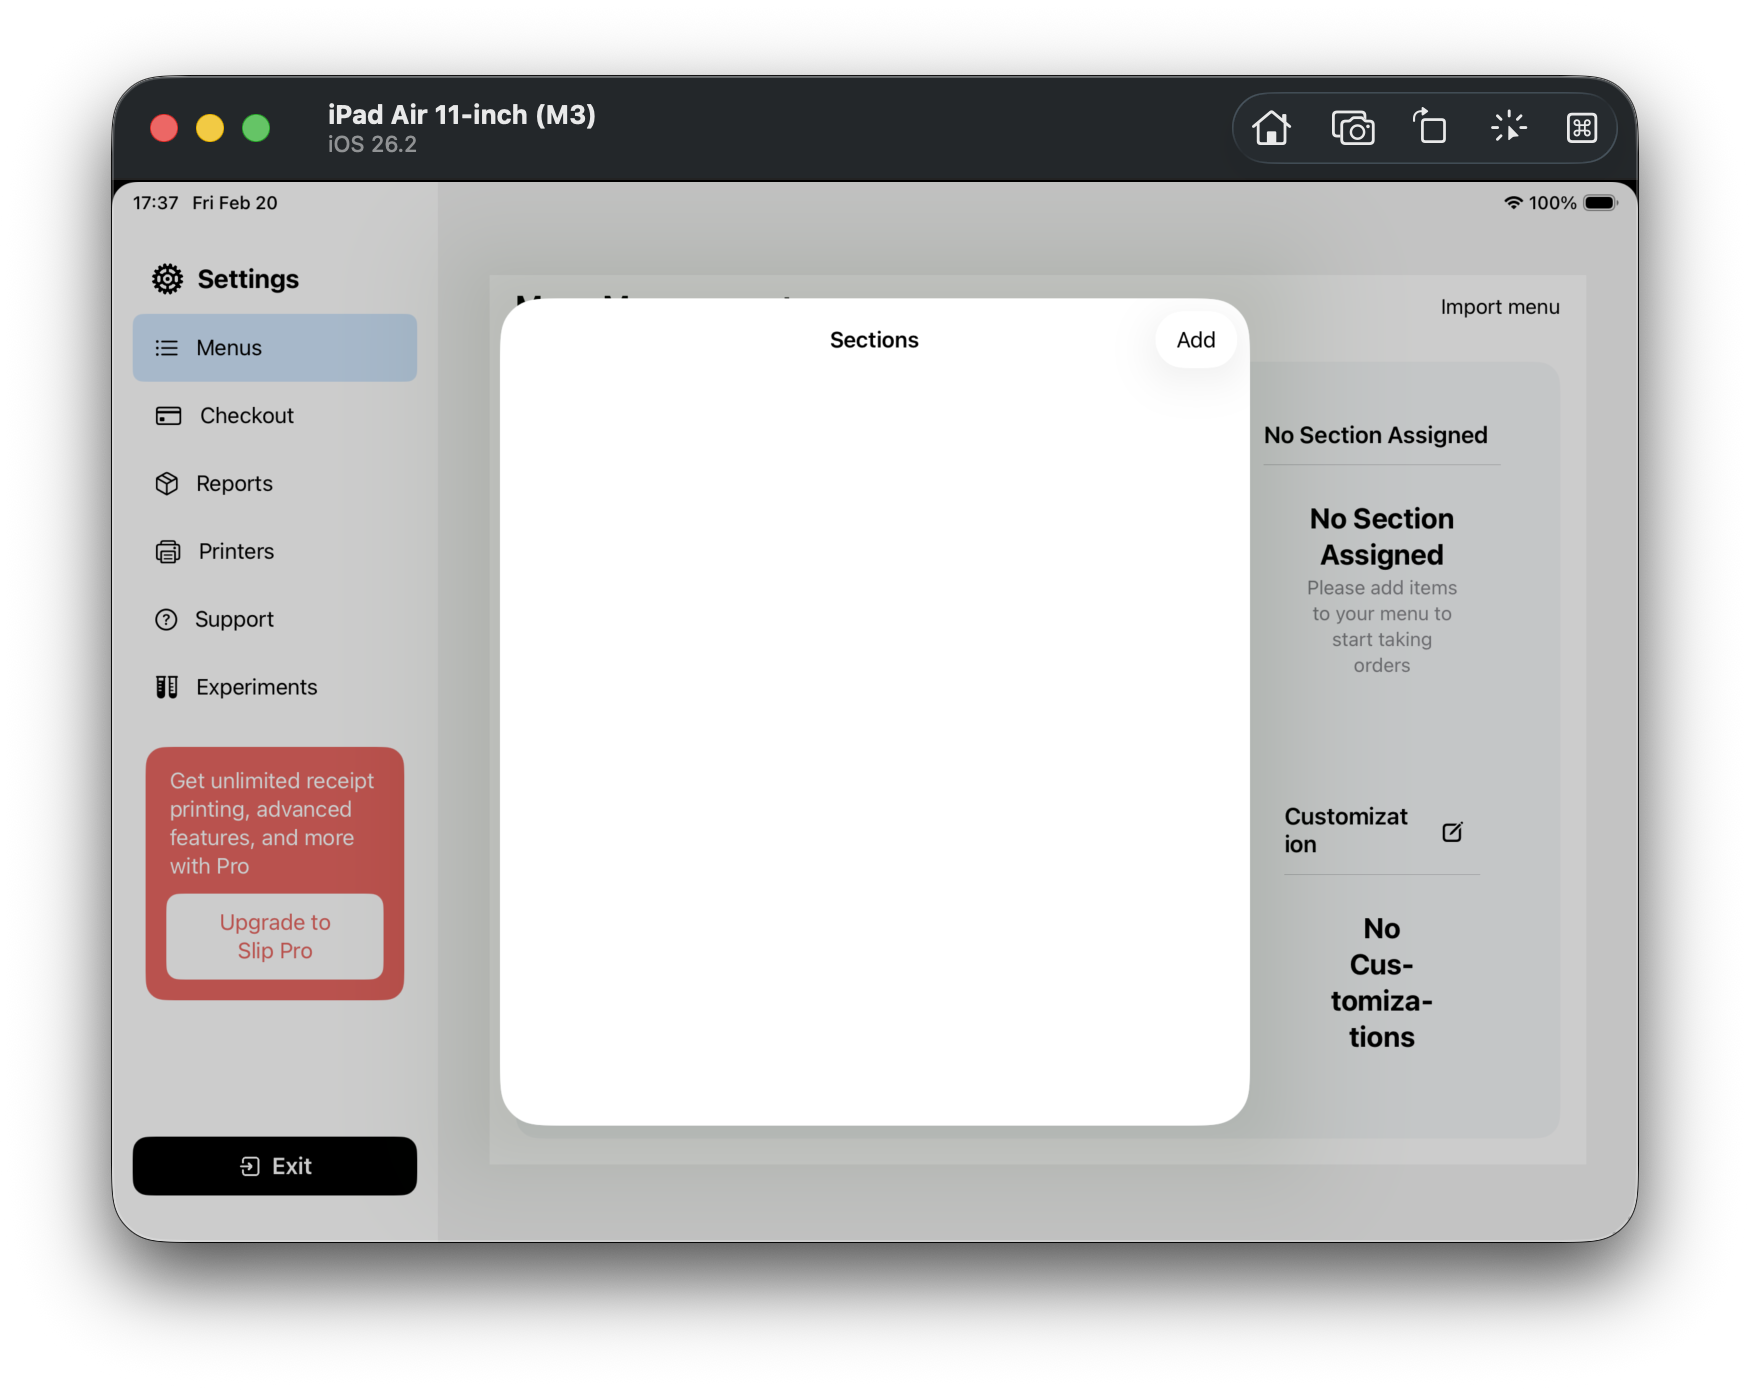
Tap Manage sections at the bottom-left to open the Sections sheet.
-
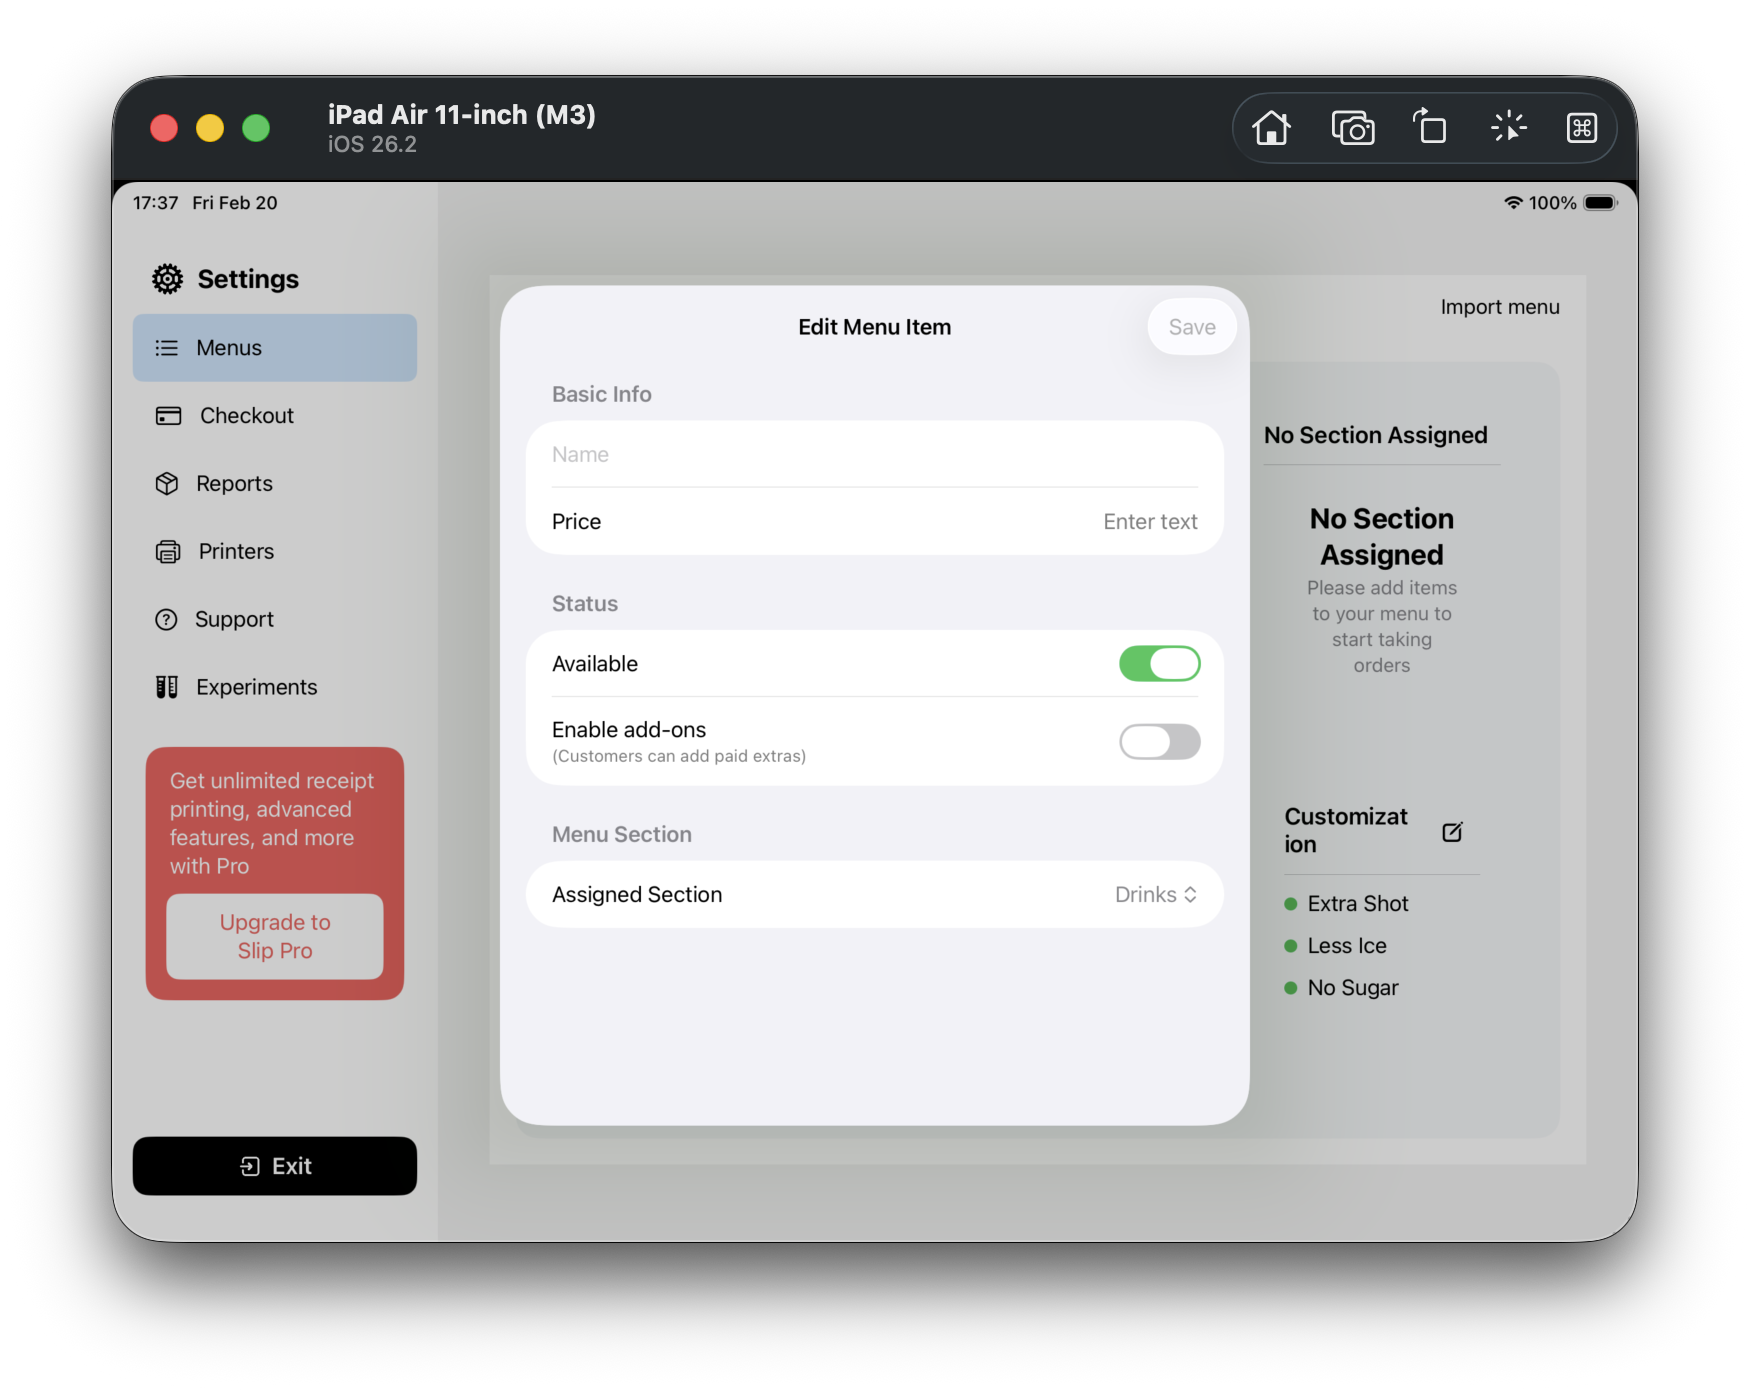
Step 4 (F04): Open add item form
Back on the main screen, tap Add menu item at bottom-right to open Edit Menu Item.
-
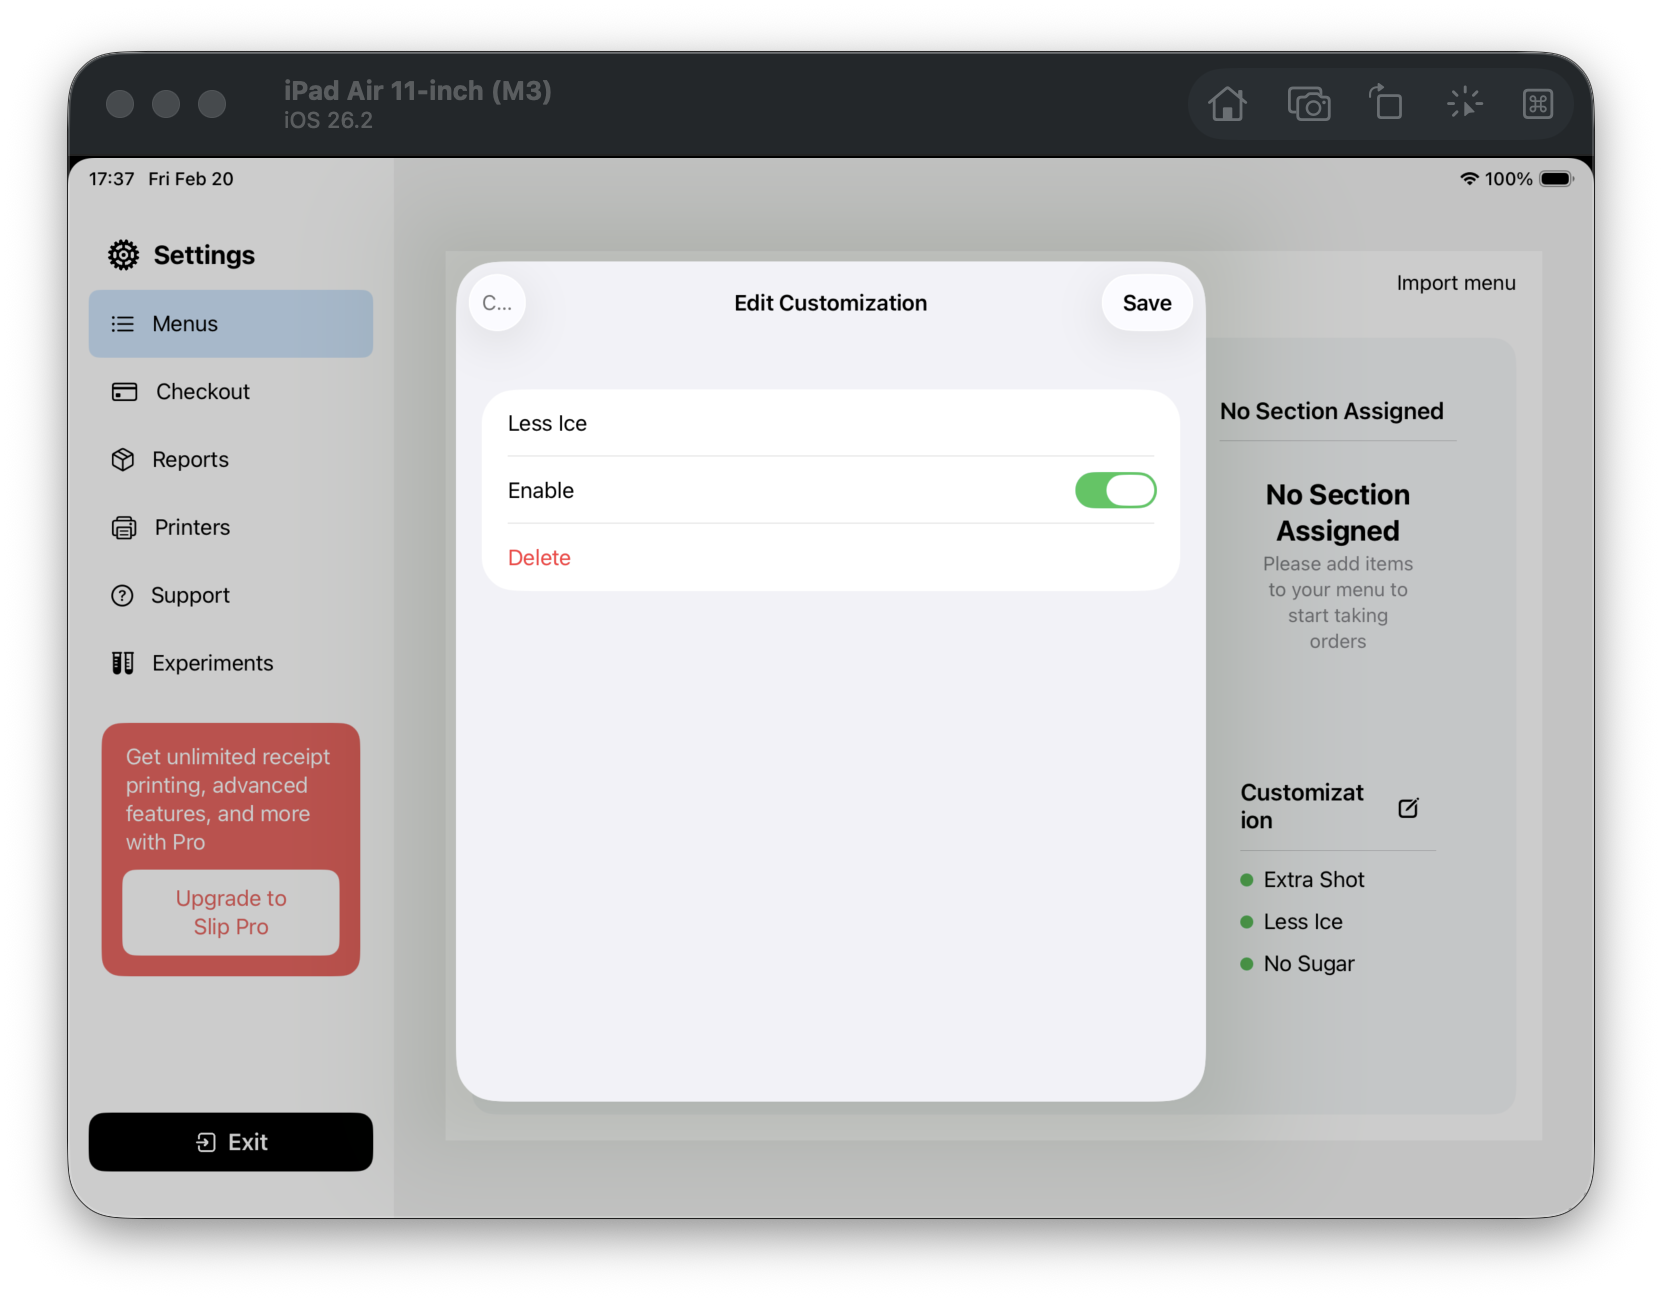
Step 5 (F05): Review customization list
On the right side, Customization includes notes like less ice or no sugar.
-
Step 6 (F06): Open customization editor
Tap one term to open the Edit Customization screen.
-
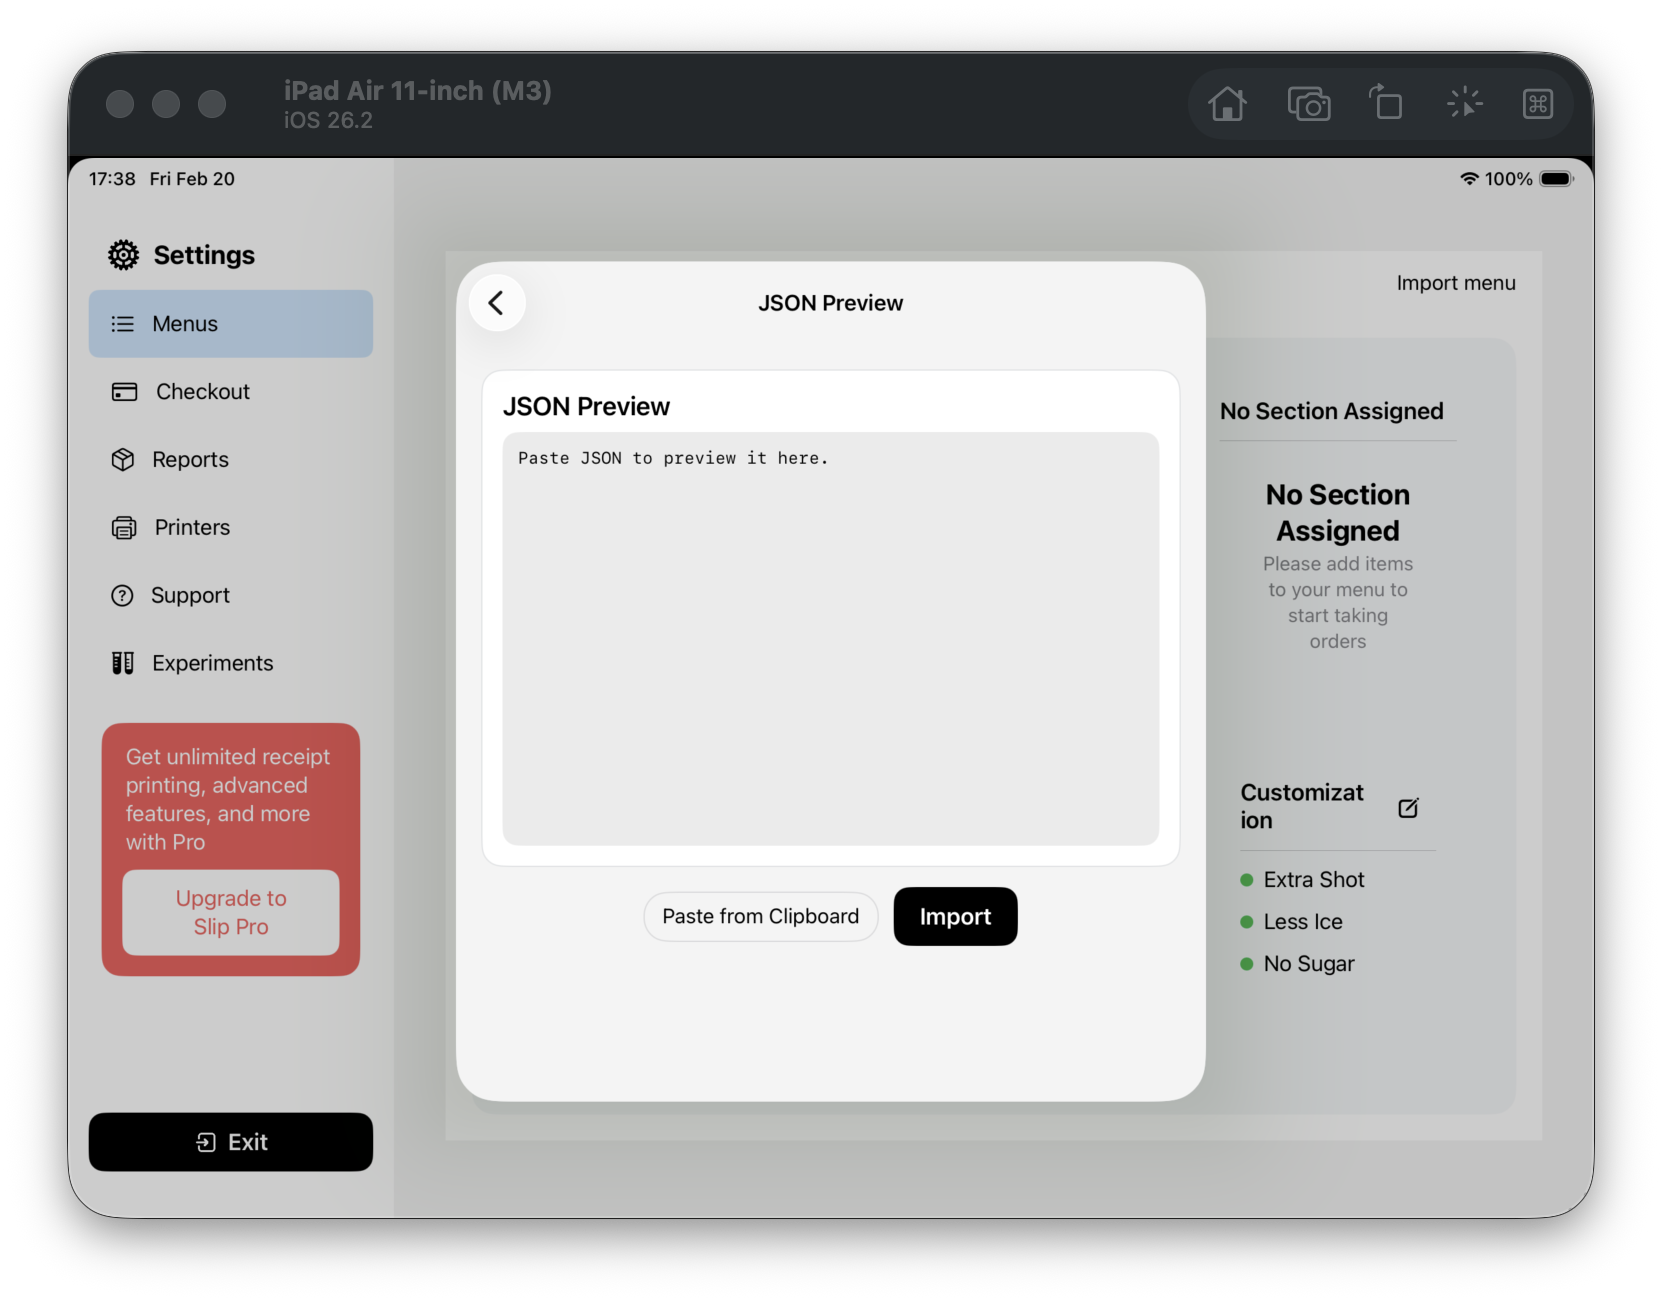
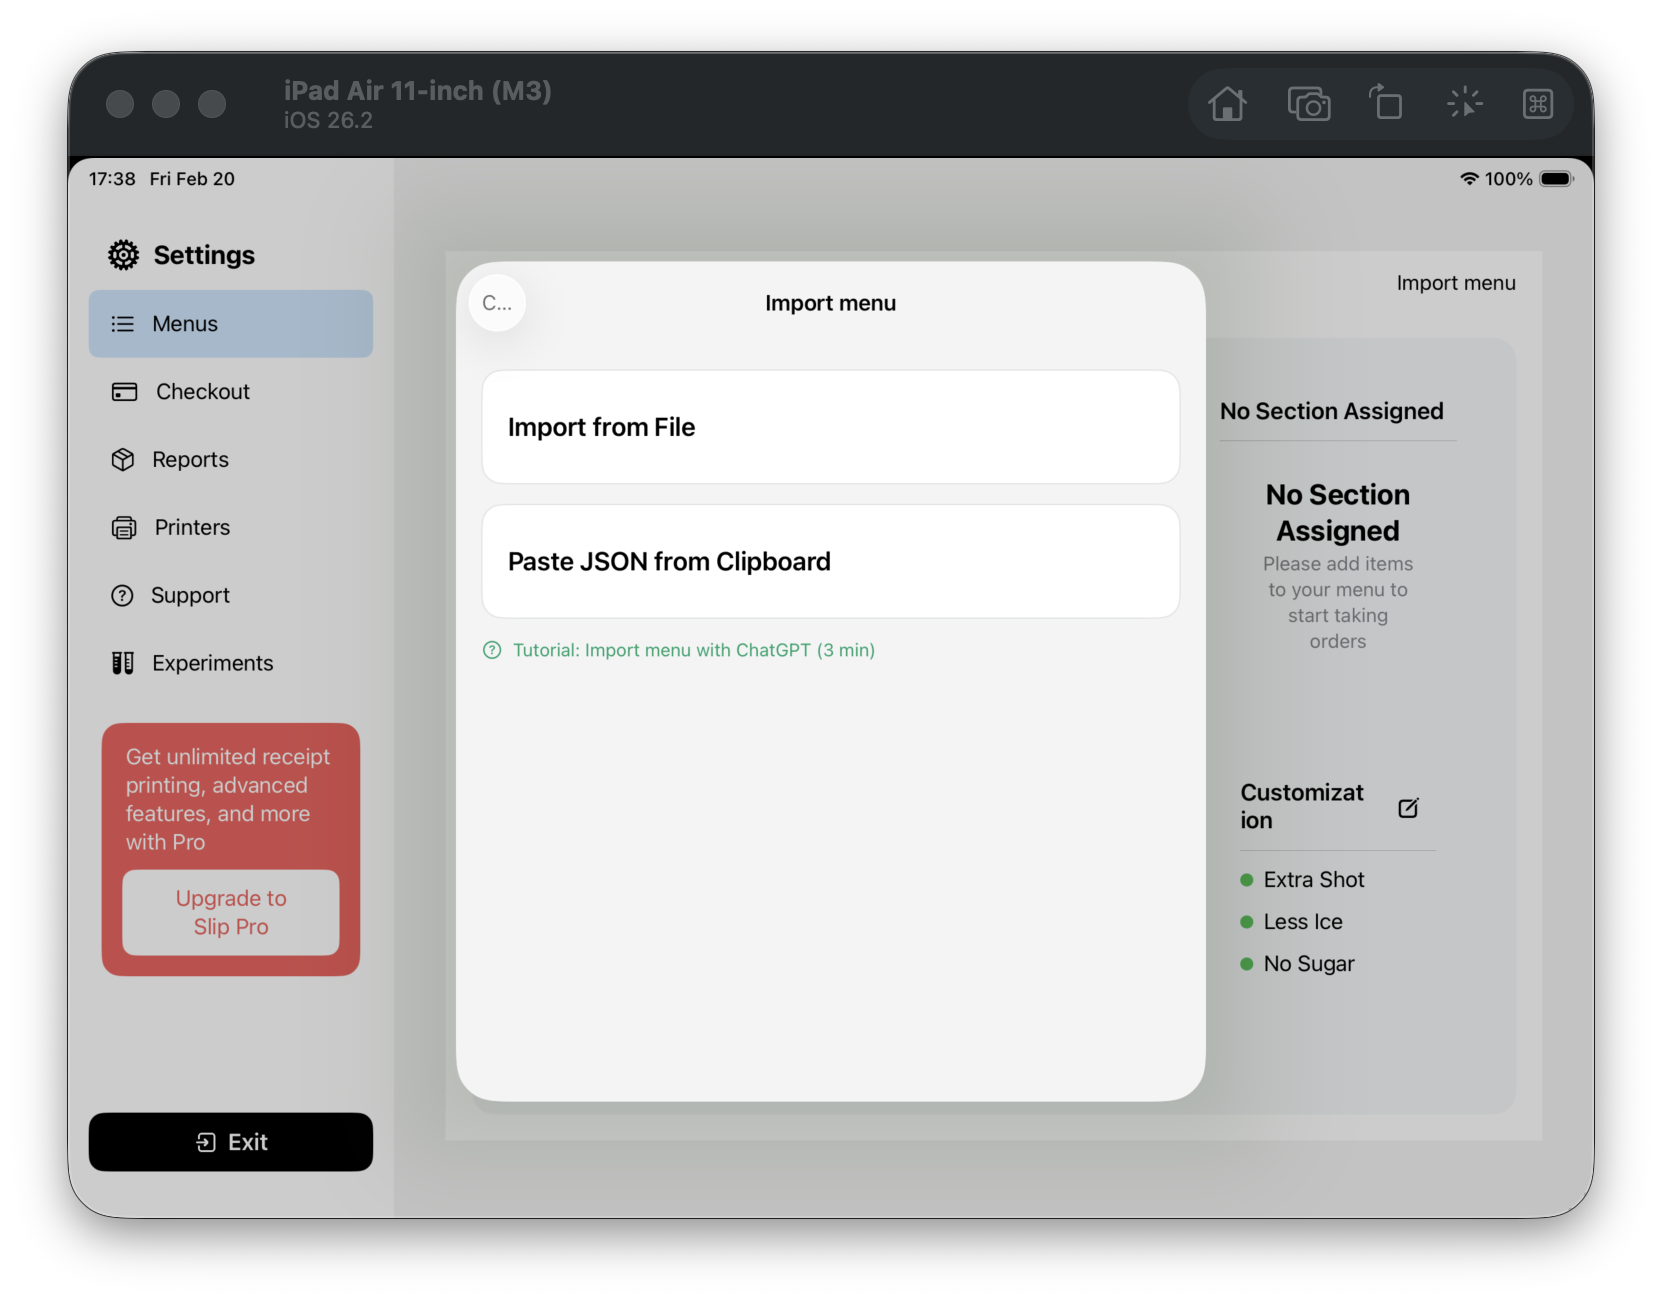
Step 7 (F07): Open import source
Tap Import menu at top-right. You will see two options.
- Import from File
- Paste JSON from Clipboard
-
Step 8 (F08): Open clipboard preview
After tapping Paste JSON from Clipboard, you enter JSON Preview.